On this page 8
The bar under your health is the whole game
Every action Soul takes is paid for out of one pool: Sha-Chi, the gauge sitting directly under your health bar. The gauge sits directly beneath the health bar, it drains when you take a hit, and it refills by itself once you stop spending.
That single rule explains most of what feels wrong in the opening hour. Guarding is not free — holding a guard stance burns Sha-Chi the entire time. Sha-Chi attacks cost Sha-Chi. Getting hit costs Sha-Chi. Play as if the bar is decoration and you will spend the back half of every fight with no options left, holding a guard you cannot afford.
Your opponents run on the same economy. Most of them carry a Sha-Chi gauge, and some display it in blue. Their blocks eat their own Sha-Chi, so the gauge is not purely a defense budget for them — it is the thing you are trying to empty. When an enemy’s bar runs dry, the guard breaks: no more blocking, a long stagger, extra damage taken. That is the moment the fight stops being a negotiation.
So the loop is not attack-then-retreat. It is spend, refill, force the break.
Four slots, and only two of them are weapons
The loadout screen looks bigger than it is. You carry exactly four kinds of gear, and each one answers a different problem.
- Two primary weapons. Attack power, guard-break value, Sha-Chi attacks, ultimate, and execution animation all differ per blade. Nothing here is a sidegrade you can ignore.
- Two Phantom Edges. Swappable at any moment. Some of them exist specifically to crack heavy shields, and a few hard-counter particular enemy types. They spend Remnant Sparks, which drop by chance from kills.
- Two potion bottles. Healing, attack buffs, or faster Sha-chi Essence build — and some bottles rewrite your moveset while active. Charges come back on kills, by chance.
- Six accessories. Pure passive stacking. Six empty slots is six wasted effects.
Fill all of it before the first real boss. A half-equipped Soul is not a harder challenge; it is the same fight with fewer answers.
Three colors of incoming damage, three different answers
Enemy attacks telegraph with color, and the color is the instruction. Getting this wrong is the number one cause of early deaths, because the wrong answer does not merely fail — it hands the enemy your Sha-Chi.
| Color | What it means | Wrong answer | Right answer |
|---|---|---|---|
| White | Guardable, heavy | Holding guard eats a huge slice of your Sha-Chi and staggers you | Parry inside the window — restores Sha-Chi, drains theirs, triggers Ghost Step |
| Red | Unblockable | Guard does nothing; you take the hit and lose Sha-Chi | Dodge late — restores Sha-Chi, triggers Ghost Step |
| Black | Guard-crushing | Blocking drains almost the entire bar | Step out of range rather than test it |
Ghost Step is the reward state. Land the parry or the late dodge and the gauge refills, the counter window opens, and you end up behind the attacker. On some enemies a red-light dodge opens a unique follow-up. Miss the timing and the same input does nothing at all.
That asymmetry is the whole skill curve. Perfect defense is not a safety net — it is your main source of fuel.
Your panic button is not dodge
When your own bar empties, you get guard-broken: guard stance is locked, Sha-Chi moves are locked, and everything that lands on you hurts more. The instinct is to dodge until it comes back.
Do not. Swap weapons instead.
A weapon swap refills your Sha-Chi gauge to full, cancels the guard-broken state immediately, and puts the weapon you just sheathed on a short cooldown. That cooldown is the price, and it is a bargain — you trade one blade for a full bar and your defense back. Two weapons means two escapes per fight, and a reason to keep both slots occupied even when one blade clearly hits harder.
Dodge still matters, and it is cheaper than you think: it costs no Sha-Chi, and it never touches the enemy’s bar either way. It is a positioning tool first, a Ghost Step trigger second.
Open the map with the crouch button
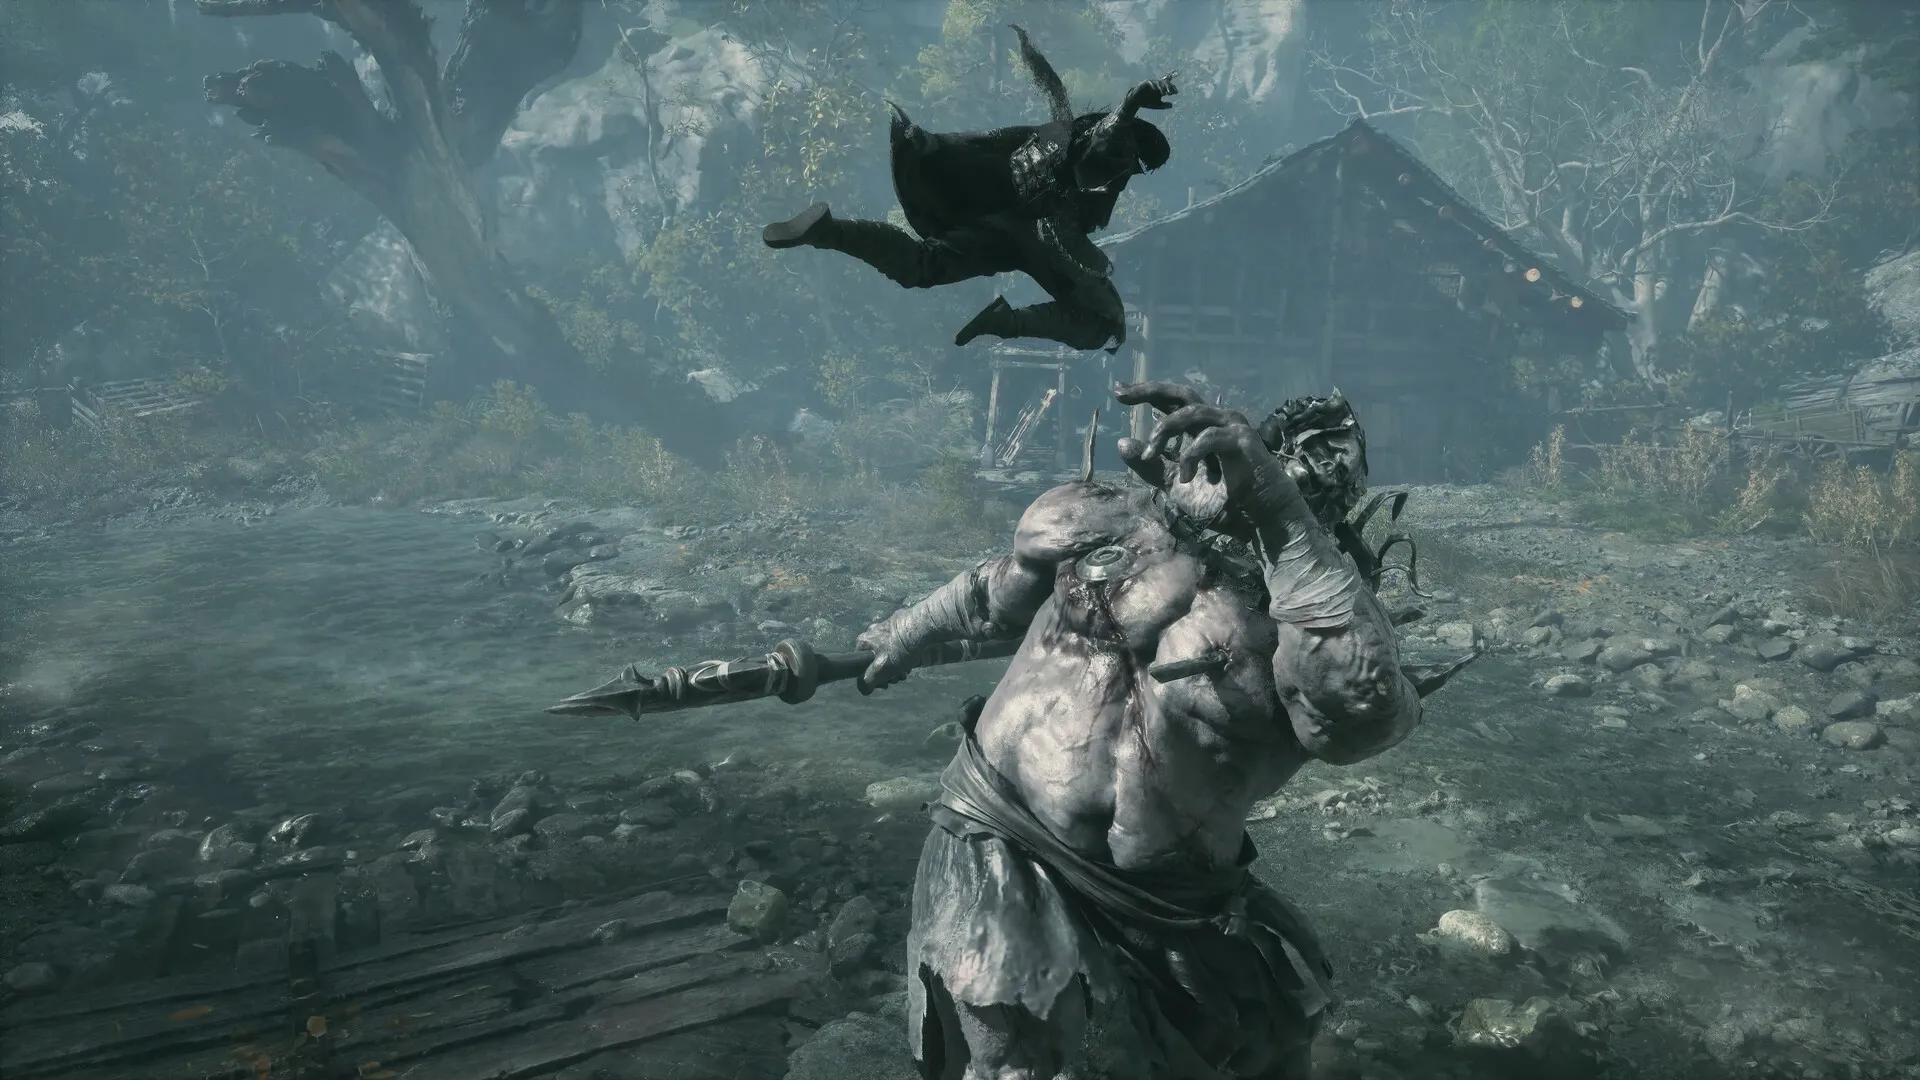
Stealth is not a tutorial gimmick. Crouch behind a regular enemy and you get an execution. Two enemies standing close together give you a chained execution. Drop onto one from above while you are still out of combat and that works too.
The opening regions are built around this. Camps of ordinary enemies can be deleted before they become a fight, which saves both potion charges and the Sha-Chi you would have burned learning their patterns. Save the straight fights for the enemies worth learning from.
Spend your first upgrades on the boring stat
Weapon levels stop at 30, and nothing you spend on them is permanent. Reset a blade and the levels come back with no loss, which makes the whole shop a sandbox rather than a commitment.
The one wall in the curve arrives at level 10, where the bench starts asking for a reverse-refining talisman on top of mind dust, metal, and solvent. Everything below that is cheap and forgettable.
Each level nudges attack and guard-break pressure. Certain thresholds go further and hand the weapon a new move or trait — that is the point where a blade changes how it wants to be played, and the point worth testing before you commit to anything else.
Phantom Edges sit on the same bench with the same ceiling, so a second upgrade line opens as soon as you find one worth keeping. Materials come in tiers, which is why a mid-game blade is cheaper to raise than a late one.
Weapons and Edges are also the only slots that improve through investment this early. Potions and accessories scale with drops, so your materials have exactly one good home for now.
Four habits that cost you an hour
- Backing off during a blue-light wind-up. Auto-block eats a massive chunk of Sha-Chi. Walk into the attack and block it on time instead.
- Spamming Sha-Chi attacks into a raised guard. You are paying to chip a bar that only breaks when it is empty, not when you are tired.
- Swapping weapons for damage. Swap for the refill. The new blade’s damage is a bonus, not the point.
- Walking past camps instead of clearing them from stealth. You lose the execution, the drops, and the potion charges that come back on kills.
FAQ
Does dodging drain Sha-Chi? No. It costs nothing and changes nothing on the enemy’s bar. Its value is immunity frames and Ghost Step procs.
What if my own guard breaks? Guard stance and Sha-Chi moves lock until the bar refills. Swap weapons to end it instantly instead of waiting.
Can I undo a bad upgrade? Yes — weapon levels reset without loss, so try the moveset before committing.
Should I block or dodge blue-light? Parry it. A clean parry on blue-light is one of the best Sha-Chi trades in the game; dodging it throws the payout away.
Do I need both weapon slots filled? Yes. The second slot is your guard-break escape, your refill, and half your move list.
Last checked 23 Oct 2026.