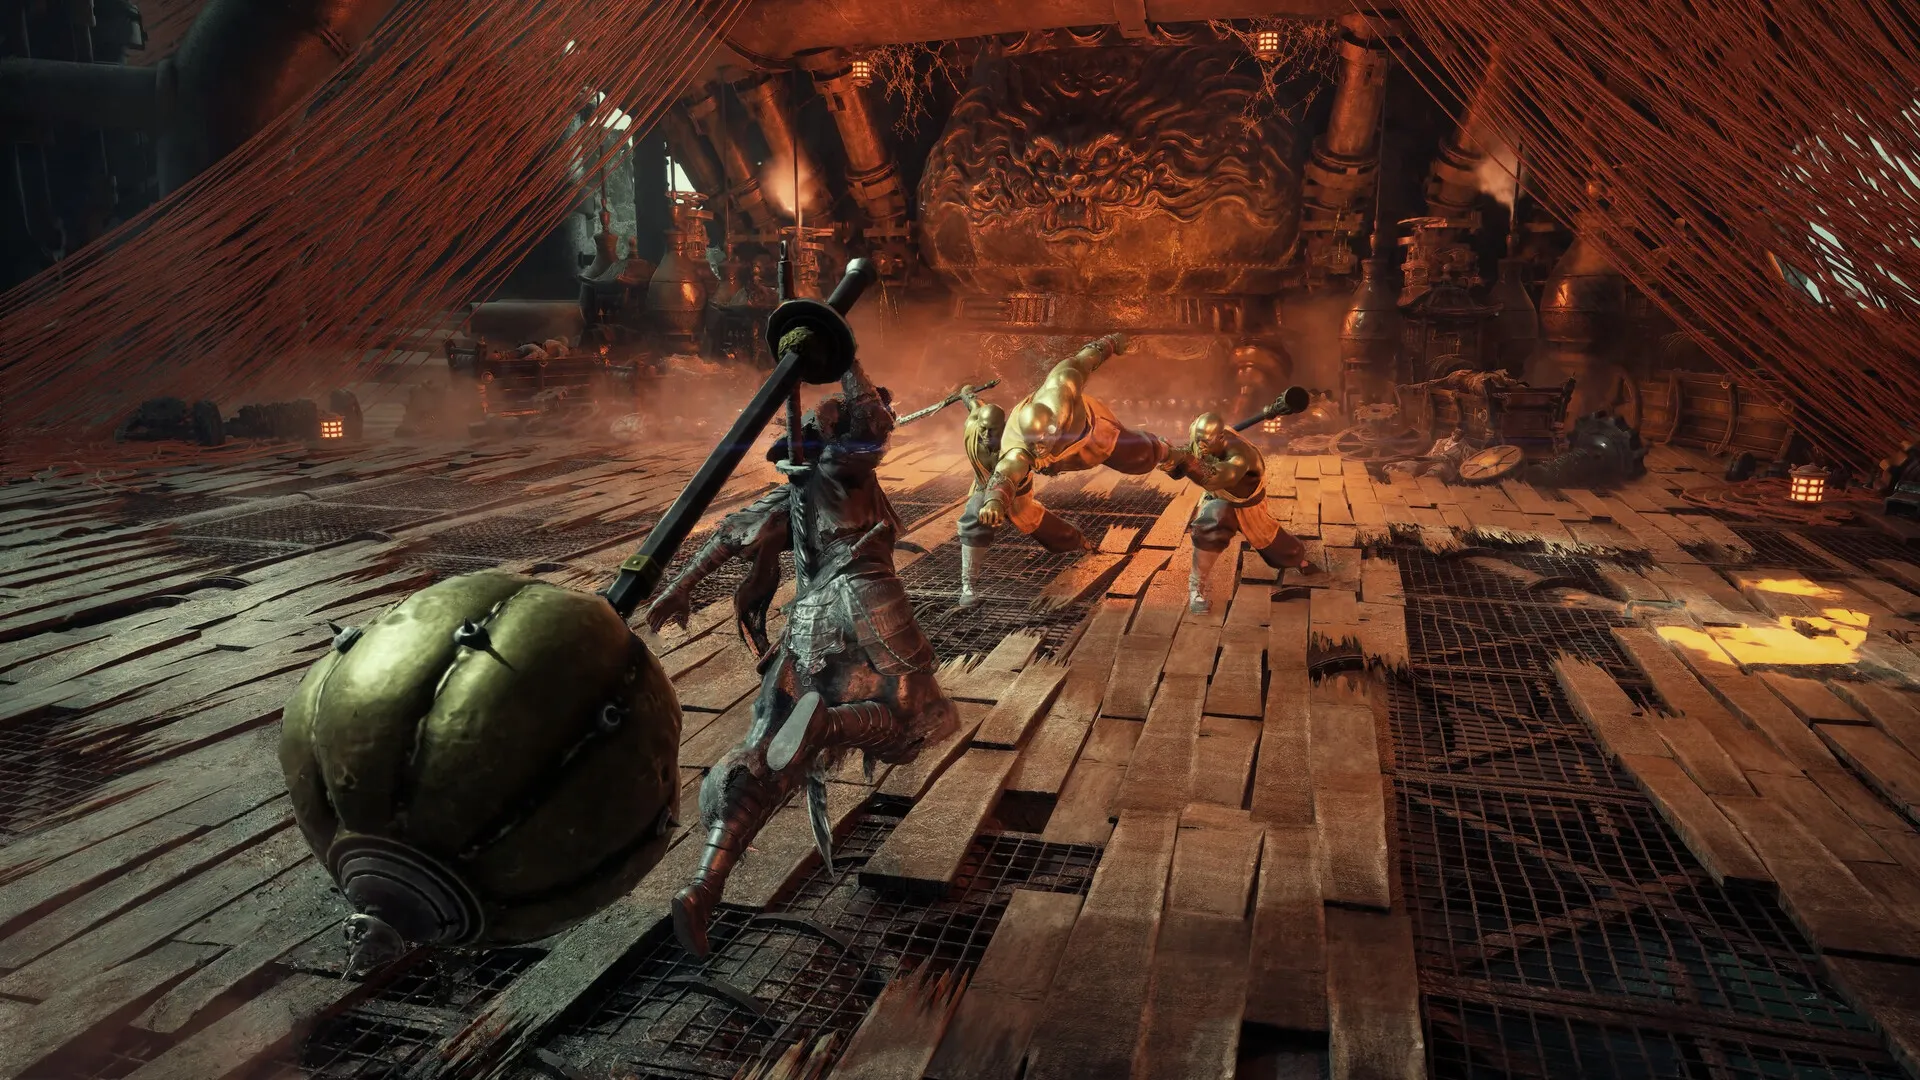
Bottles and accessories are the quiet half of the build. Neither one wins a fight on its own, and both decide whether a long fight ends with you alive. Six bottle types are confirmed, at least six accessory types are counted, and the slot math matters more than any single item.
The slot count, before anything else
- Bottles: 2. You equip two at a time and drink them in combat.
- Accessories: 2 at the start, 6 at the cap. The extra four slots come from ability training, not from story progress.
- Same-type accessories: 3. You cannot run six copies of one passive.
That last rule is the one that shapes builds. With six slots and a three-of-a-kind limit, the ceiling is two full stacks plus flexibility, not one stacked effect.
What a bottle can do
Bottle effects fall into four families, and a bottle can belong to more than one.
- Restore health. The basic job. Stacking two healing bottles is legal and usually wrong.
- Raise attack. A damage window opener, best used before a burst, not during one.
- Speed up Pure Sha-Chi accrual. Turns a slow resource into a usable one, which matters most in long boss fights.
- Change your moveset. Some bottles alter how the character moves. Test these at a bell before you take them into a fight.
Charges are the constraint: kills on regular enemies can refund a charge, so a bottle is a resource you top up by clearing rooms. Walking past mobs is the same as throwing bottles away.
The bottles we can name
| Bottle | Family | Notes |
|---|---|---|
| Hulu | Healing | Basic recovery bottle, the default pick |
| Youming Guiyao | Not published | Effect listed as unreleased |
| Beiming Yao | Not published | Effect listed as unreleased |
Three further bottle entries exist on the source record without names or effects. We are not assigning effects to them, and any guide that does is guessing.
Accessories: six slots, three of a kind
Accessories are passive, permanent while equipped, and cheap to swap between fights.
- Two slots are open from the start; ability training unlocks the rest up to six.
- A single accessory type caps at three copies across those six slots.
- Only one accessory is named on the record (Jubao Pen); the rest are counted but not described.
On this page 7
Because training can be reset with a full refund, unlocking slots is not a commitment. If a build stops working, respec, keep the slots, and change what fills them.
The +10% pickups are not accessories
Three collectible lines raise your caps, and players confuse them with gear. They are permanent map pickups, not slots.
| Pickup | Effect | Where it also matters |
|---|---|---|
| Sha-Chi amber | +10% Sha-Chi cap per pickup | Each of the three main training rows needs 8 |
| Memory Flowers | +10% health cap per pickup | Each row needs 8 |
| Blackstone shard | +10% attack and break per pickup | Each row needs 8 |
The dual role is the point. Collecting them raises a cap and unlocks training nodes, so a sweep of a map is progress twice over.
Loadouts by situation
| Situation | Bottles | Accessories |
|---|---|---|
| Learning a boss | Healing + Sha-chi Essence speed | Defensive passives, three of your best |
| Farming a map | Healing + attack | Anything that speeds kills |
| Challenge site | Attack + Sha-chi Essence speed | Damage stack, accept the risk |
| Exploration | Healing + moveset bottle | Utility, since fights are short |
FAQ
Can I drink from both bottles in one fight? Yes. They are separate items with separate charges, and each has its own input.
Is the 6th accessory slot worth the training detour? Yes, if you already have the pickups. Slots are permanent; nodes respec for free, so the detour costs time, not power.
Do bottle charges reset at a bell? The bell restores combat resources, so it is the natural refill stop. Whether it refills bottle charges is not published.
Why does the guide not list every accessory? Because the record does not. One is named, the rest are counted. We will fill the table when names are published, not before.
Last checked 23 Oct 2026.